Hardwood Flooring 101

When it comes to flooring selections for your new home or remodel, there is nothing more timeless than hardwood. These days there are many varieties of wood, and even tile made to look like wood. Whether it’s engineered wood, traditional solid hardwood, laminate, or tile, each material has its benefits. Here are things I consider when guiding a client through the decision process:


Wood Speak: Engineered, Solid, and Manufactured/ Laminate:

So, there many types of “wood looks” out there these days, and I’m noticing clients are feeling confused. Here are some common types of “wood” flooring with a brief description:

  • Engineered – this is indeed REAL wood – NOT laminate (a common misperception). Engineered is one of the most durable and stable kinds of wood floors, and it’s what I use most. It has a solid natural wood layer on top (called the “wear layer”) and it comes in different species, thicknesses, etc. Engineered wood is constructed with criss-crossed sub layers of plywood below that give it stability to prevent expansion and contraction with changes in humidity.
  • Solid Wood – this is what you’ll find in old homes in central Austin and elsewhere, and that’s what people like about it. This isn’t as easy to use in a remodel because it’s thicker and less likely to work for transitions to other materials. It is also more prone to warping, cracking, etc. than an engineered wood, although sanding and refinishing is easier than with other materials.
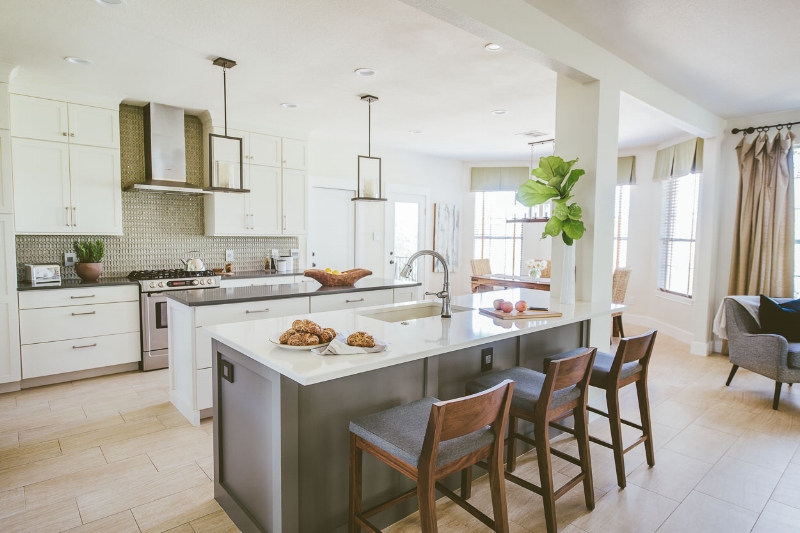
  • Manufactured “Wood”– there are many laminates and vinyls out there made to look like wood, and the patterns and colors are becoming more and more realistic. These materials are very durable and most often used in commercial settings. Because it’s not real wood, it’s less expensive and also not sensitive to moisture like real wood. I’ll admit I don’t tend recommend it for most residential clients, because to me it doesn’t indicate the quality I like to see in a residential setting. You’ll also see tile made to look like wood. I have used this a few times with great success (especially in laundry rooms and bathrooms). I lean toward a tile that doesn’t completely try to mimic wood, but instead just has an organic quality about it…
This "wood" tile is a beautiful example of a durable and low maintenance wood look

This "wood" tile is a beautiful example of a durable and low maintenance wood look

Budget:

The cost of wood floors varies greatly by type and then by manufacturer and species. Generally speaking, in Texas you can usually get quality wood floors, either engineered or solid hardwood, for anywhere between $10 - $20 per square foot installed. The cost of vinyl planks is about half of that, and tile falls somewhere between the two.

Unfinished vs. Prefinished:

A prefinished product is quick, easy to install, and a bit more “predictable” in color if you find one you like. It is ready-made and factory finished and technicians can install it within a day or two. I recommend buying an extra box so that if planks get damaged they can be replaced. This flooring is not really one you can sand and refinish easily (you can with some choices, but don’t assume that without asking first!). Unfinished flooring takes a little more time. The planks are laid, stain samples are made, and then the entire floor is stained and finished. These floors are easier to sand and refinish down the road if issues arise, but they also tend to be a little more expensive, and it takes time to work out the “perfect stain color”. Clients of mine who choose this method like the fact that the end result feels a bit more like “natural wood” and less like a manufactured product than pre-finished material.

Installation: Floating vs Glue Down:

There are a few different methods of installing engineered wood floors. Click locking engineered planks have special tongue and groove systems that simply lock together. They don’t involve glue during installation and just lay over a foam or cork underlayment. Glue down floors glue directly to the concrete subfloor. There are benefits and drawbacks of each, so without spending too much time on this topic I recommend you talk to a flooring expert to understand the trade-offs for your specific situation.

Maintenance:

We all know that real wood is not a friend to water. Exposure to moisture is the primary cause of damage to wood floors. Having said that, clients are using wood more often these days in kitchens, utility rooms, and powder baths without a problem. Methods of waxing and sealing have improved, but no real wood floor is going to hold up to prolonged water exposure such as that from a flood or a busted pipe. Many clients who love wood are willing to take that risk, knowing that if an incident occurs they’ll have to replace some amount of flooring. On the other hand, if you know in advance that your floor is in a high traffic area and prone to standing water, but you really like the look of wood, it’s a perfect opportunity for vinyl planks or tile made to look like wood.
 

Color and Grain:

Color is an important factor, as it drives a style direction and needs to work with furniture, cabinets, etc. Grain is a similar consideration. Some woods have a light or barely visible grain (best for contemporary environments) and others have knots and more deeply grained or rugged planks (better for rustic interiors). Here are descriptions of the most common types of trees that I tend to use:

  • Maple – reddish brown or yellowish tan. Typically lighter grain.
  • Oak – often white, honey, or reddish. Can be heavy grain, or rift cut offers a linear grain that’s nice in contemporary design. I use this often.
  • Walnut – dark chocolate brown. Usually lots of variation and flowing grain. I use this in both contemporary and traditional interiors.
  • Hickory – light or reddish brown. Often has knots and distressing. I use this in more rustic environments.
  • Acacia – deep brown with LOTS of variation! I have used this in both contemporary and traditional environments. It’s best for someone who appreciates movement and color variation.

Surfaces: Textured, Smooth, Hand-scraped:

For a floor that is less slippery, choose a textured surface. There are slip-resistant hardwoods that can prevent falls and are especially valuable for senior citizens. Other than that you’ll see floors that are hand-scraped, which tends to be a traditional or rustic strategy, or those that are smooth, which is what I lean toward in contemporary design. Pay attention to whether the finish is glossy versus matte. These considerations are primarily personal preference, but your designer and/ or flooring expert can provide guidance on what’s best for your specific situation.

Recycled/ Reclaimed Hardwoods:

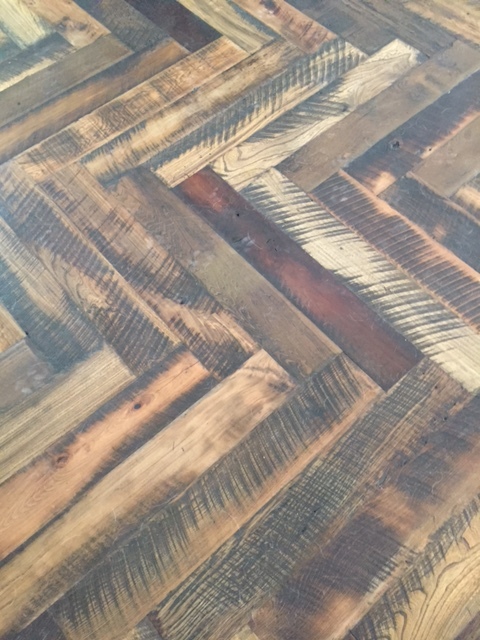
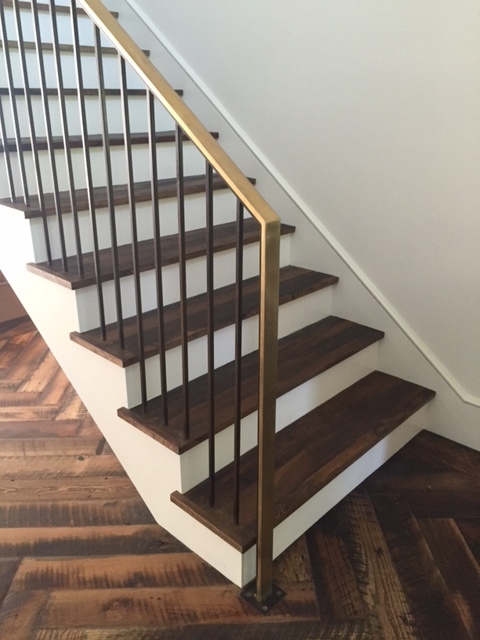
Lately, both for the look and the benefit of the environment, I have used vintage hardwood products that have been removed and reclaimed from old structures. These hardwoods have been cleaned and treated and have fabulous character! I can't wait to get professional photos of this remodel below where I used reclaimed planks. In the meantime – please enjoy these amateur photos courtesy of my iphone…

Hope this has been helpful. In the meantime... best of luck on your flooring journey, and a big thank you to  Jessica Kane, a writer for GoHardwoodwho collaborated with me on this article.


Recipe for Success - Working with Contractors

Image courtesy of Getty Images

Image courtesy of Getty Images

We all know someone with a 'bad contractor' story. Or you see it on TV: some guy partially completed a job and then skipped town. Sure every industry has a few "bad seeds", but quite honestly I think contractors get a bad rap. After years in the industry I’ve worked with dozens of contractors across the country who have been honest, fair, and caring about client satisfaction. On a personal level, my husband is a builder, I have managed remodels, and I work hand in hand with contractors daily. Based on these experiences I've developed some first hand opinions on how to successfully work with building professionals. Follow these tips and I guarantee you'll have good results too!

THE SELECTION PROCESS:

(this applies to both General Contractors and Subcontractors for small jobs)

1. Get referrals from sources you trust.

2. Interview a few of them on the phone. Are they easy to communicate with? Do they sound experienced and professional?

3. Set up appointments with your top two or three. 

4. During the appointment, ask questions about their process. Most experienced professionals have developed a process that works for them, and if you hire them it's best to work within those parameters.

5. Ask about their preferred vendors. Does your Uncle Bob have a lighting store and you hope to buy from him? Getting their input on this in advance will avoid awkward discussions later and allow you to consider this in your decision.

6. Proceed with getting bids, but again only from two or three (more than that is needless and overwhelming!). Many of them will offer to do a high-level estimate rather than a detailed exercise with visits from their tradesmen. That's totally fine. They often have enough experience to draw reasonable conclusions about your project without bringing everyone over. If you prefer a detailed estimate many good GC's will provide that for a nominal fee. I've had clients balk at that, but in my mind it's totally fair on large and involved projects.

7. Provide a detailed Scope of Work and drawings if appropriate (I often develop these documents for clients). The bids can only be as accurate as the information you provide, so make sure you have clearly defined the scope and that you are offering enough detail to receive apples to apples information. I typically include preset allowances for things like plumbing and electrical fixtures to reduce the number of variables and indicate expected product quality.

8. Once you've reviewed the bids and made a decision, close the loop with everyone on your decision. They put a lot of time into the estimate and it is the polite thing to do.

DURING THE PROJECT:

So you’ve selected a contractor - now the fun begins! Regarding the actual process, I have one key word for you to remember: respect. You like to be treated with respect, and they do too. They have expertise and a network that is a benefit to you or else you wouldn’t be hiring them. They came recommended for a reason, now let them do their job. Nothing can send a project on the wrong track faster than a client who second guesses, micro-manages, or refuses to work within the guidelines provided by the contractor. Regarding the details during the project, here are some guidelines for a smooth process:

1. Be flexible. Don’t try to tightly squeeze a project in before a big family holiday or party. Challenges will come up and you want to make decisions based on “doing it right” rather than forcing something to meet a deadline.

2. Provide information in advance. Product orders need to be placed, so understand lead times for your selections and plan appropriately. Avoid stress by thinking through each detail that the tradesmen will need. For example: you know you want sconces on both sides of the mirror – how wide is the mirror? Do you know where the center line is for the faucet? How tall are the sconces and where is the junction box on the fixture? Label the exact height and placement on the wall or on a drawing (this is a service I provide for my clients). Clear communication is the best way to avoid surprises, disappointment, and expensive re-work.

3. Be available for questions, and ask the contractor his preferred method of communication if an issue arises. Do they prefer email or text? Are they early risers? Do they typically work on weekends? Most contractors work long hours - be respectful that they try to carve out time for their family too, and just because you are thinking about your project at that moment doesn’t mean they should be (can you tell I’m speaking as a wife as well as an industry professional?). I have a few sweet clients who send emails on the weekend with the title “Don’t Read Until Monday”. They get it.

4. Find periodic times to walk through and get your eyes on things to make sure obvious mistakes are caught (the wrong tile or paint color is going up, etc.). There is a lot of detailed communication involved and honest mistakes can happen. If you approach the discussion in a way that’s not accusing, and contact them in the way they prefer, good contractors will work with you toward fair resolution.

5. Regarding money – keep in mind there are expenses with your project and make sure you provide them what they need to stay ahead of things. In the same way you don’t want them to run off with your money – it’s not fair for them to be your bank. Understand in advance their terms and be prompt with payments. It won’t go unappreciated.

6. Another tip on the topic of money - understand that the contractor is in business to make a profit, and it’s fair for him to do so on your project. I’ve seen clients who are so determined to get a “deal” on things that they squeeze every ounce of profit out of the project to the point of taking advantage of the contractor. For example with a “cost plus” model I’ve seen clients ask to not pay the percentage on high cost items such as appliances. Okay, I understand, but how many trips did he make to your house to fix that light switch that was malfunctioning? And did he make any profit on the switch? It works both ways and usually balances out. If the appliances are going in during the project he's having to coordinate delivery, wire and plumb for them, protect them after delivery, etc.. Everything requires coordination, and at a certain point if your project is not profitable for him, he won’t enjoy being there and you won’t get his best work.

BOTTOM LINE:

The bottom line is – do your homework and treat others how you wish to be treated. I am in no way suggesting you won’t encounter frustrations (issues arise with every job – there are many moving parts!), but if you follow these guidelines it will work out best for you in the end!


Before and After

Let's face it, everyone loves a good Before and After. Whether it's a haircut, a fashion choice, or a home remodel – it’s fun to see something lackluster transform into fabulous!

In my profession, I have the opportunity to facilitate transformation every day. In fact, it's a favorite aspect of my job. I see it so frequently that I can picture 'after' in my mind's eye long before it happens. This vision guides decisions on the path to the end goal.

Because it comes easily for me, I sometimes forget that not everyone can imagine these possibilities or even knows they’re possible. For that reason I thought it would be fun to share some Before and After shots from past projects with you. In each case note the improved space, light, and functionality. Some were additions and re-orientations – others simply a removed wall and updated surfaces. Looking back reminds me that it was a rewarding journey. Check out a few examples below:

CASE STUDY ONE - WALL REMOVAL

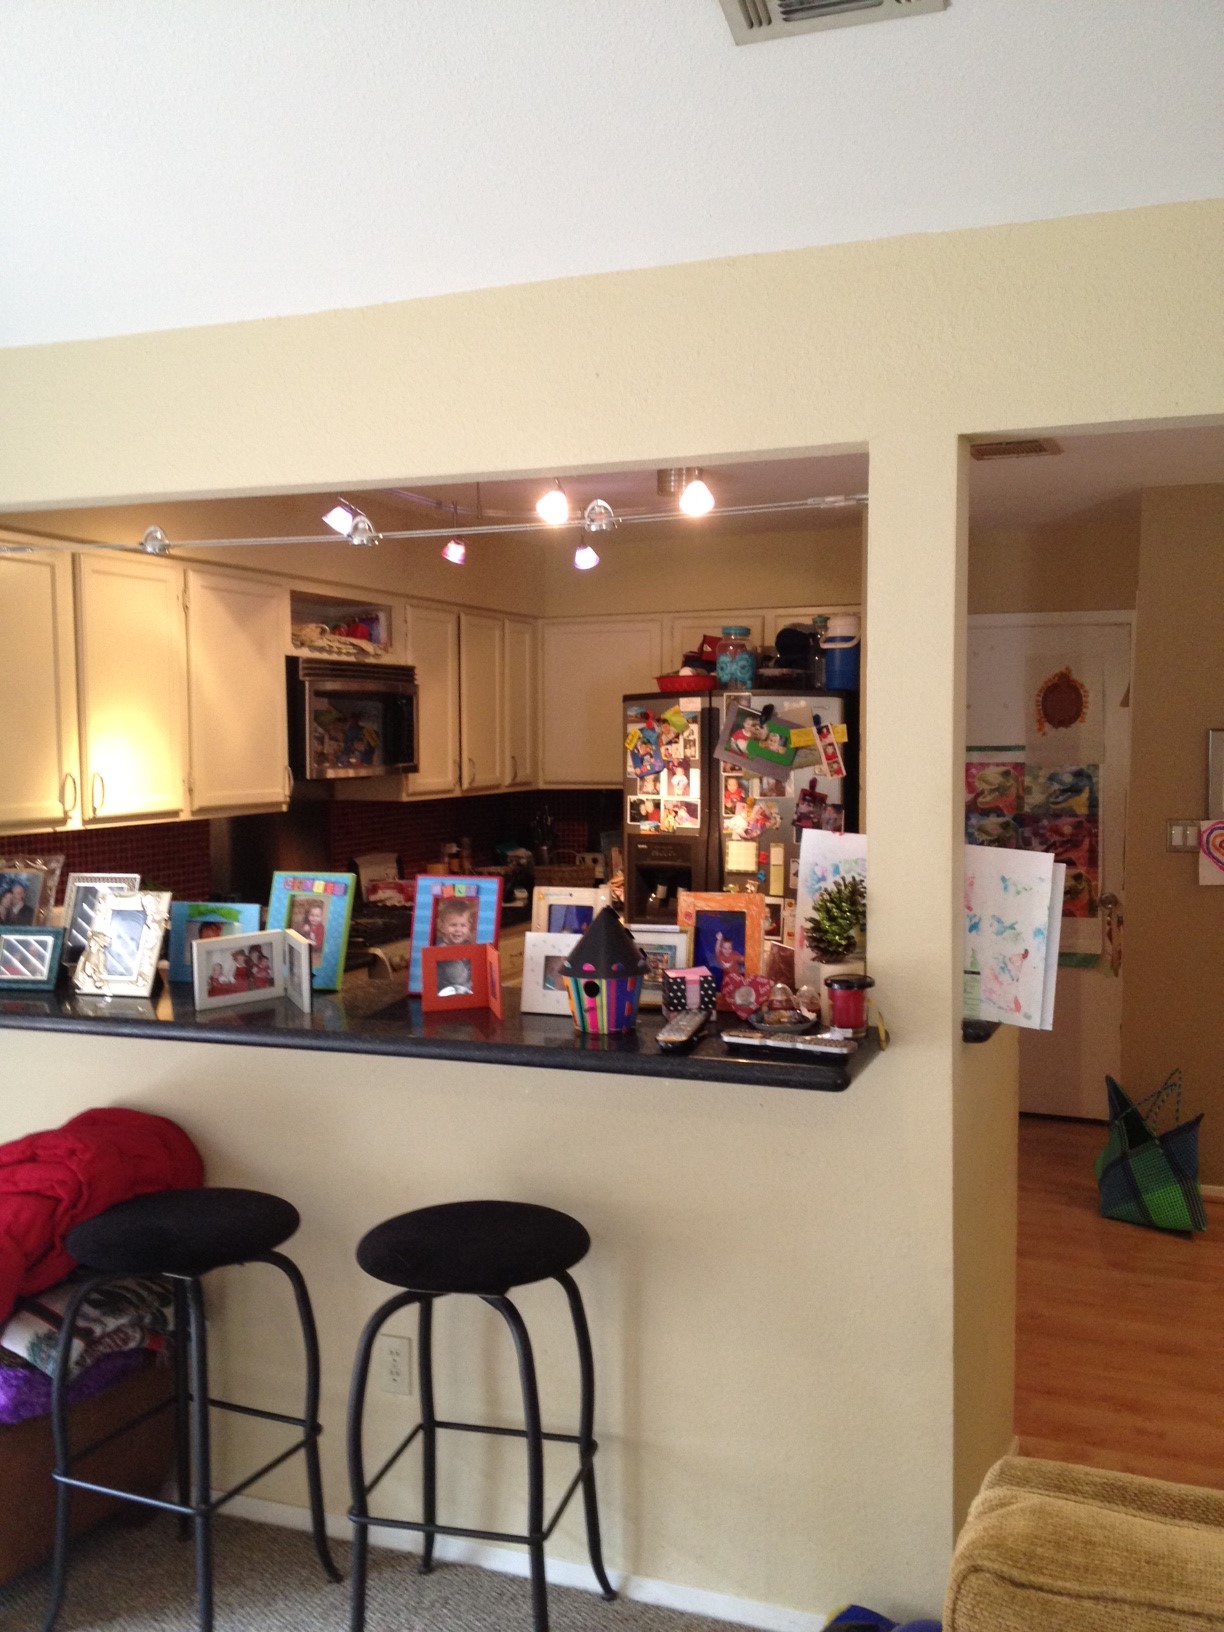
The kitchen above was separated from the living and dining areas by an L-shaped wall, limiting natural light and constricting the traffic flow. Removing the wall (which had a load-bearing component, hence the remaining column) allowed for better light, easier entertaining, and over-all improved functionality. ('After' photo by An Indoor Lady)

CASE STUDY TWO - EXPANSION

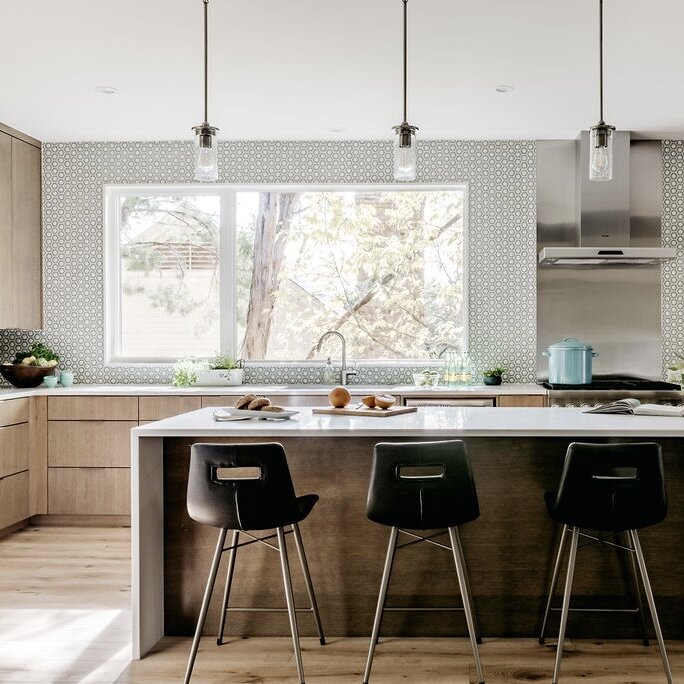
These clients had a decent sized kitchen, but wasted, unused space due to an oddly placed window and kitchen “desk” that was not functional. We removed the small window, maximized the main window, and completely revamped the layout with all new cabinets, appliances, and surfaces. ('After' photo by An Indoor Lady)

CASE STUDY THREE - RELOCATION

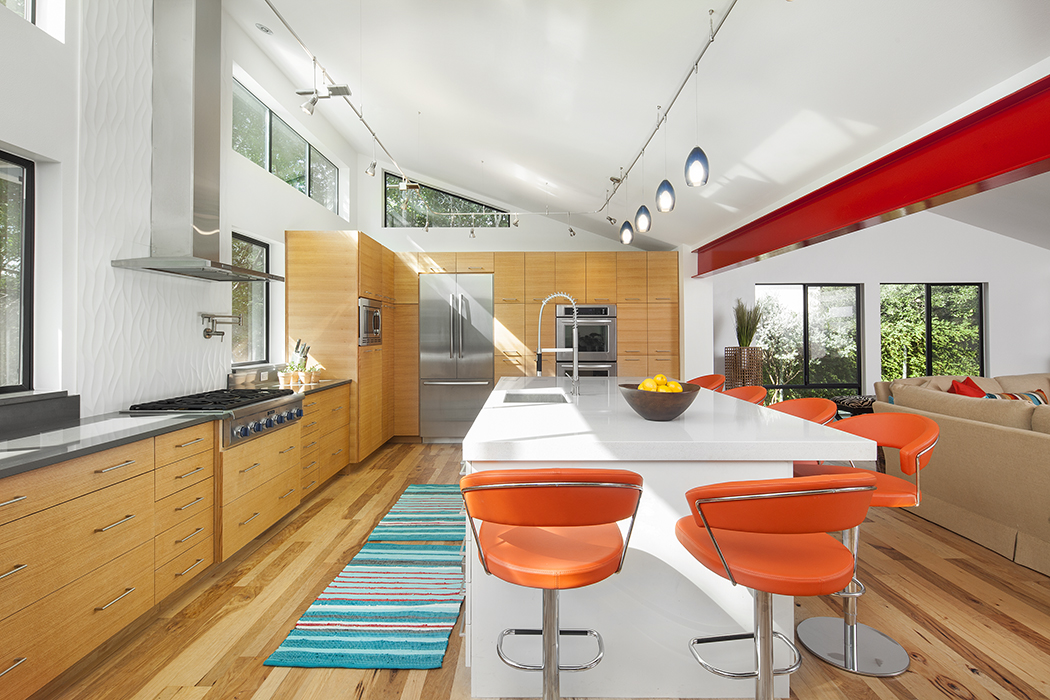
The kitchen above was cramped and poorly located, with little opportunity for light or space. By opening an exterior wall at the back of the house and expanding into the yard, we carved out square footage for a grand kitchen addition with tall ceilings and improved storage and amenities. ('After' photo by Fine Focus Photography)

CASE STUDY FOUR - SURFACES

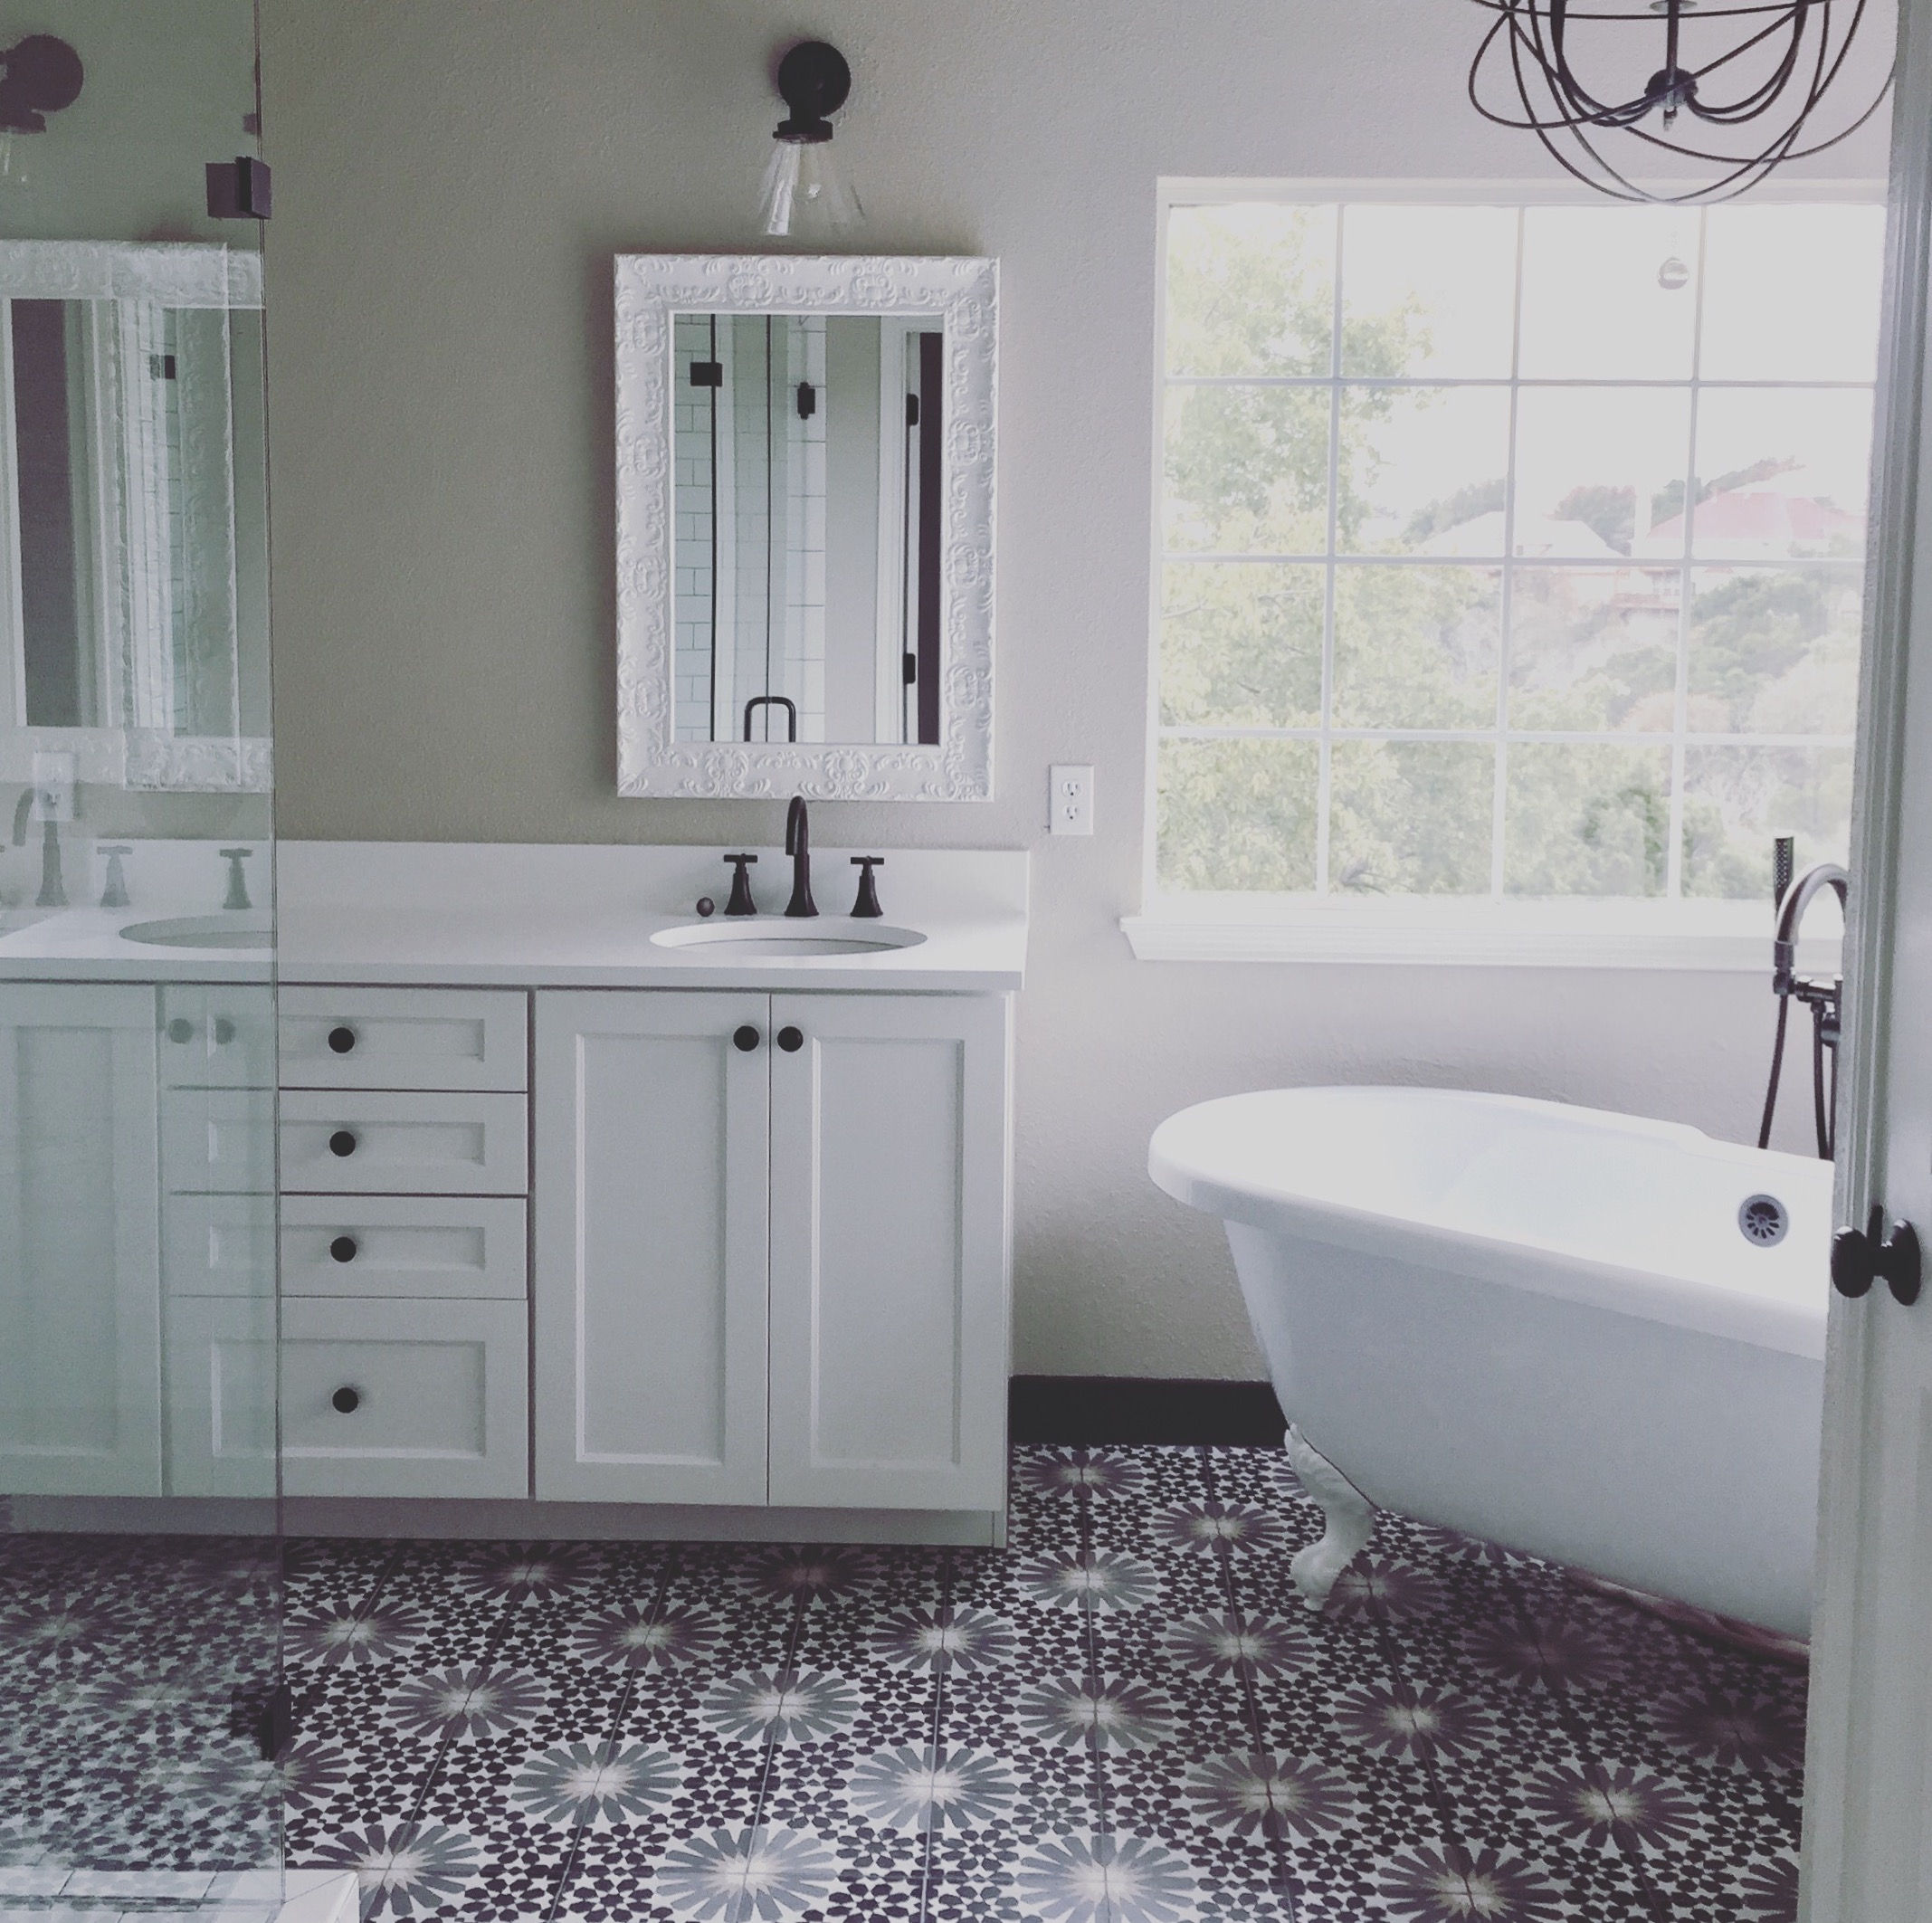
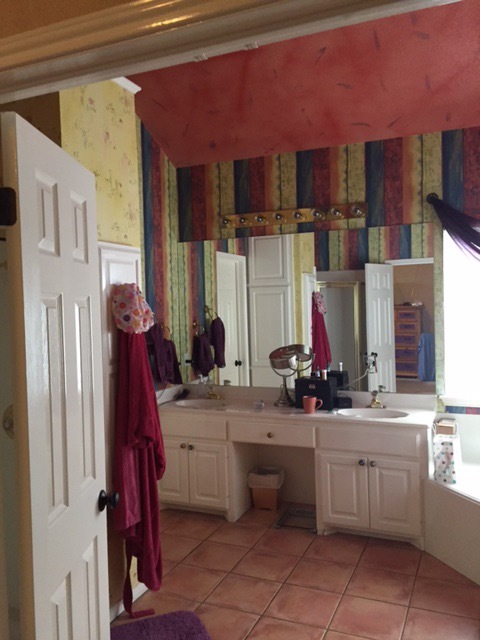
This last one is fun because it is small and recent and just so dang cute! I love this sassy little bathroom remodel. The main objective was to update surfaces, but we also enlarged the shower, maximized storage, and improved lighting and general functionality.

Has there been something about your space that bothers you, or you just feel the need for a refresh? Hopefully these photos will inspire you.  Imagine the possibilities for your home!